Showing posts with label diy. Show all posts

Friday, 6 December 2013

DIY Floral Crown


On the weekend I'm going to a fancy dress party where we all have to dress up as our favourite singer or band. I decided that it would be fun to go as Lana Del Rey based on this picture, and so wanted to include a floral crown as part of my outfit. Instead of just going out and buying one, I thought I'd have a go at making my own! Here is my process of making a floral crown incase you were wanting to make one for yourself!

What you need:
- A headband
- Stem wire
- Pretty flowers (I used some artificial flowers from a craft store)
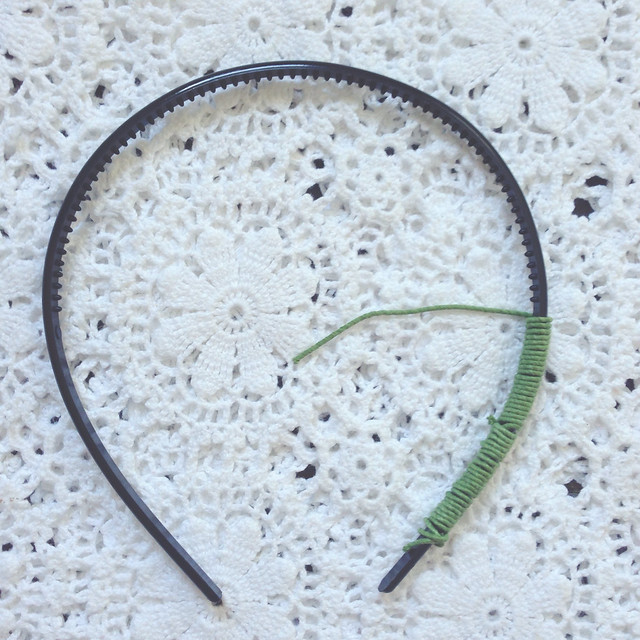
To begin, wrap the stem wire around the entire headband.
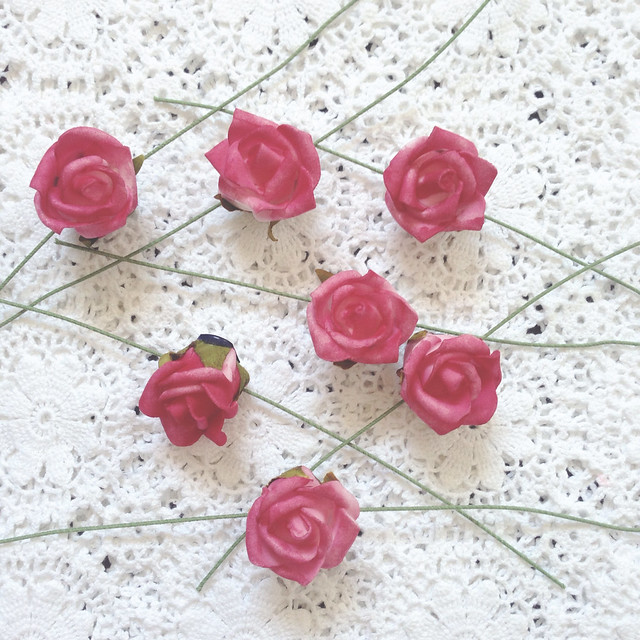
Next, attach a piece of the stem wire to the flowers by threading, tying, or glueing. 
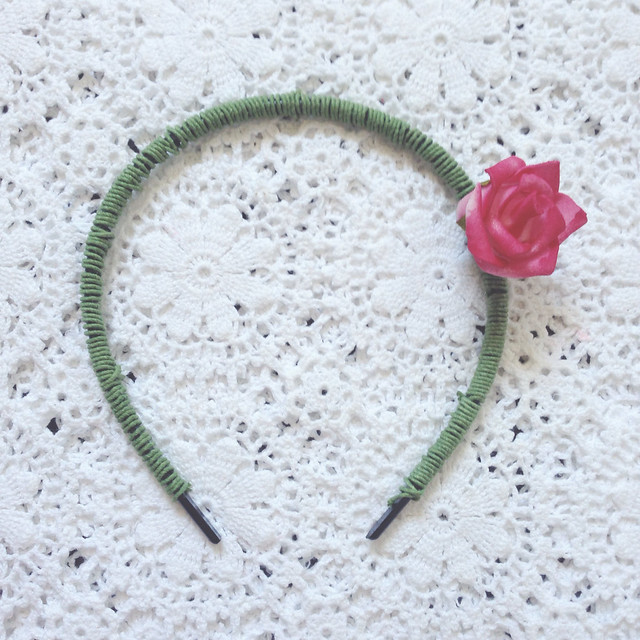
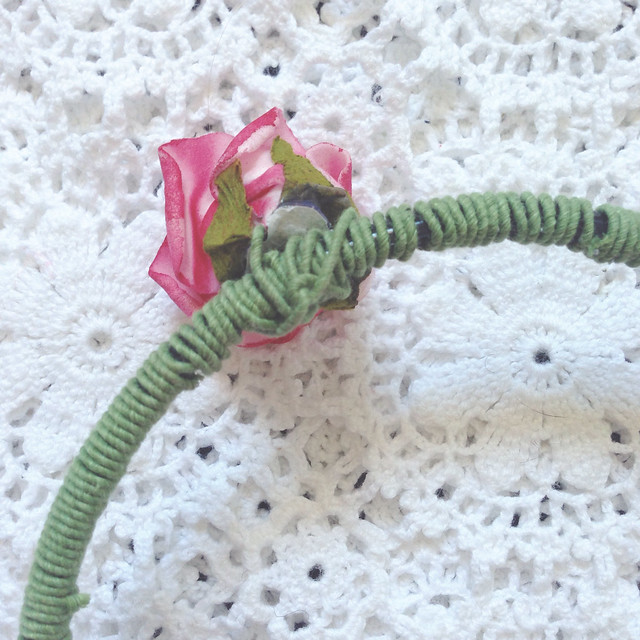
Attach the flowers on to the headband by twisting the stem wire into a sturdy knot. 
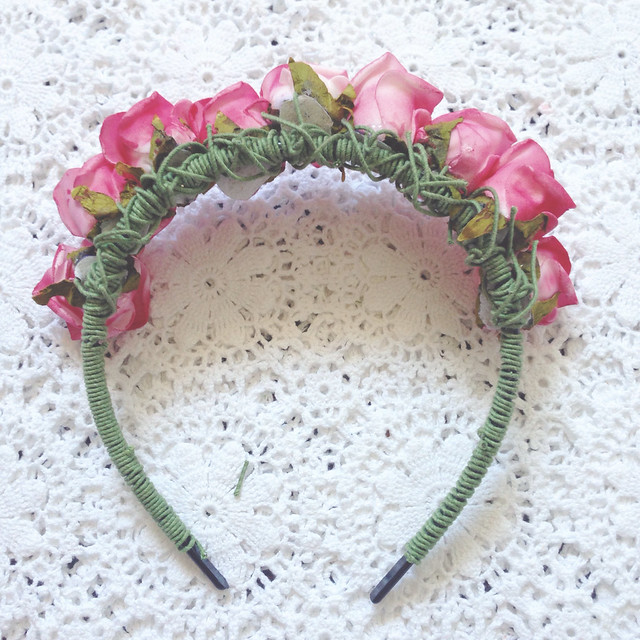
When done the knots look like a lovely vine from the back! 
It's as simple as that! This little project only took me about an hour to make and is the perfect summer accessory! 

Tuesday, 13 August 2013

DIY Macbook Sleeve


Recently I treated myself to a new Macbook and I knew in order to keep it looking shiny and new I would need a protective sleeve to keep it in. After looking online without any luck, I decided that I would be better off having a go at making one myself. I was very happy with how it turned out and so thought I would share how I made it here as a fun DIY post! (If you don't have a Macbook, this tutorial could also make a cute Ipad or mobile phone sleeve!) 


I used a sewing machine to make my Macbook sleeve as it was more convenient and time effective. However, if you don't have the luxury of a sewing machine, this project can be hand sewn! The bias binding I used was made from some pretty vintage fabric. If you would like to make your own just follow this tutorial here


1. Layout the felt fabric flat and cut around Macbook, leaving half an inch of space around on each side for a seam allowance. Allow enough fabric for the piece of felt to be folded over the Macbook and for the flap (the entire sleeve is only made up of one cut piece). 


2. Sew a length of the bias binding along one of the shorter sides of the piece of felt. 


3.  Using a semi-circle template, round off the other short end.
4. Fold the end with the bias binding to the point at which it covers the Macbook and pin it in place. 
5. Sew the remaining bias binding from one end of the sleeve to the other, stitching the fold together. 


6. Hand sew the attachable clasps in place.


7. Cover the self cover button with some of the excess bias binding fabric and hand sew into position and then it's finished!


Ta da! One cute as a button Macbook sleeve! I hope you find this tutorial helpful and if you have any questions, just ask! If you have a go at making one, send me a picture. I would love to see it!